
How to Update a Project's Unity Version
Learn how to upgrade your project's Unity Version. We will update a Unity project using Unity 2020.1.0b13 (Beta) to Unity 2020.1.0f1.
Requirements
To follow this Unity tutorial you will need to:
Installing a new Unity Version
We already had a Unity version installed, Unity 2020.1.0b13 (Beta), and a new one has been released, Unity 2020.1.0f1.
First, you will need to install Unity's new version, if you used Unity Hub to install the previous one, the process is the same, you can follow the steps in How to Install Unity 2020 Tutorial.
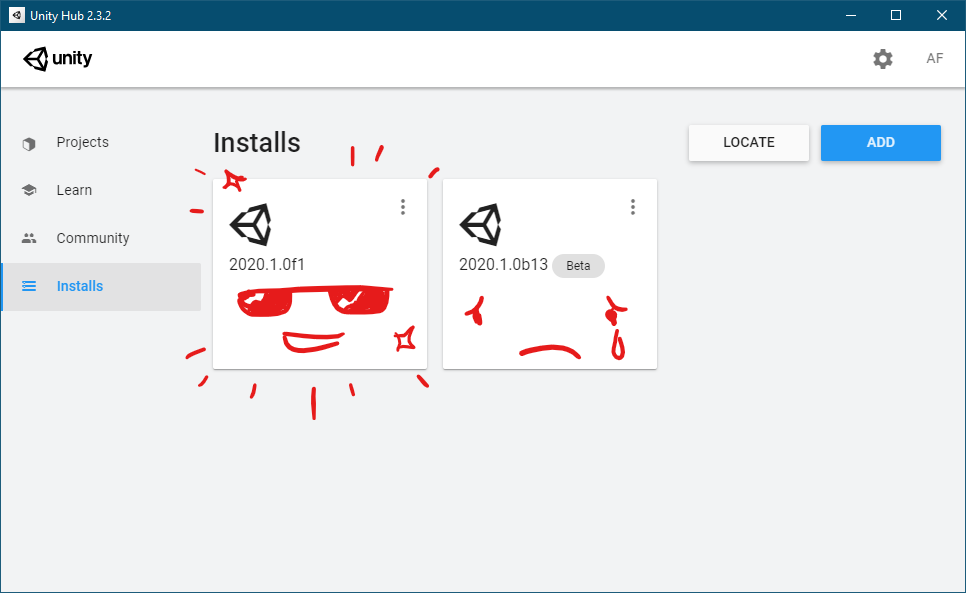
Updating Project's Unity Version
Before upgrading your project's Unity version, checkout Unity Manual's section Upgrade Guides, this way you can be sure if your project is ready to be upgraded or if you need to make changes in it before attempting to upgrade it.
To update the Unity Version of a project, go to Projects section and click on the select input to choose the newly installed version.
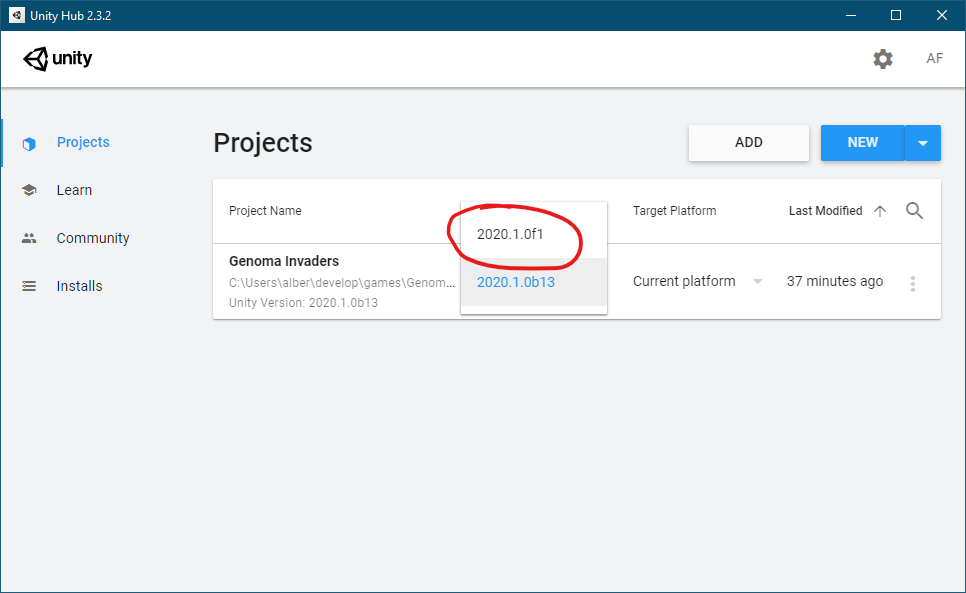
After selecting the new Unity version you will need to open the project, Unity Hub will show an alert dialog informing that the project's version is going to be updated and where Unity will place the logs of the upgrade process.
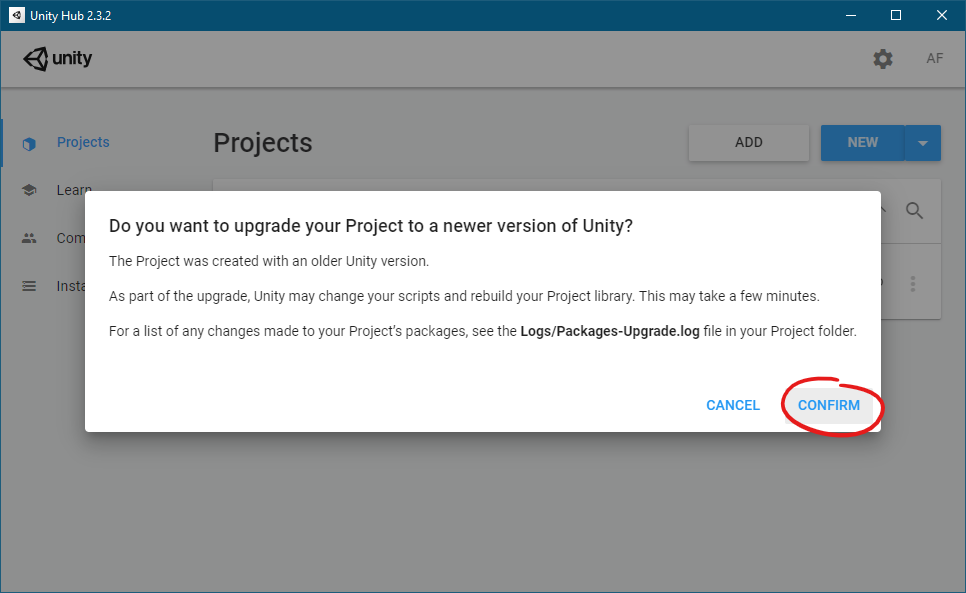
Press the CONFIRM button, and the new Unity editor will proceed to update the project's references and dependencies.
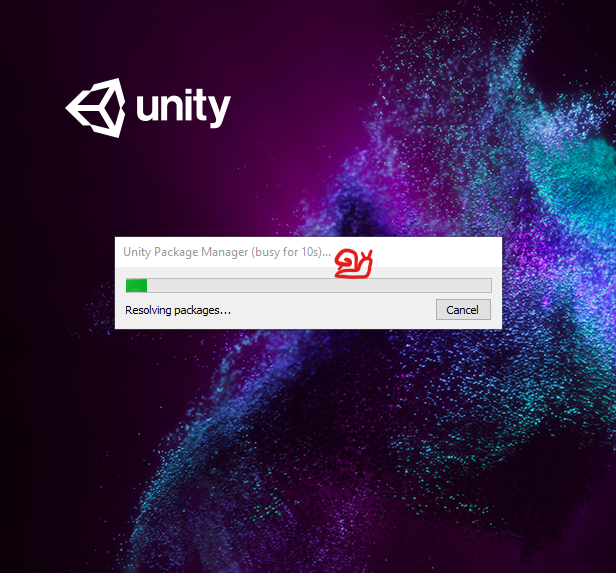
When Unity finishes, you will see the Unity editor with your project again, running in a new version.
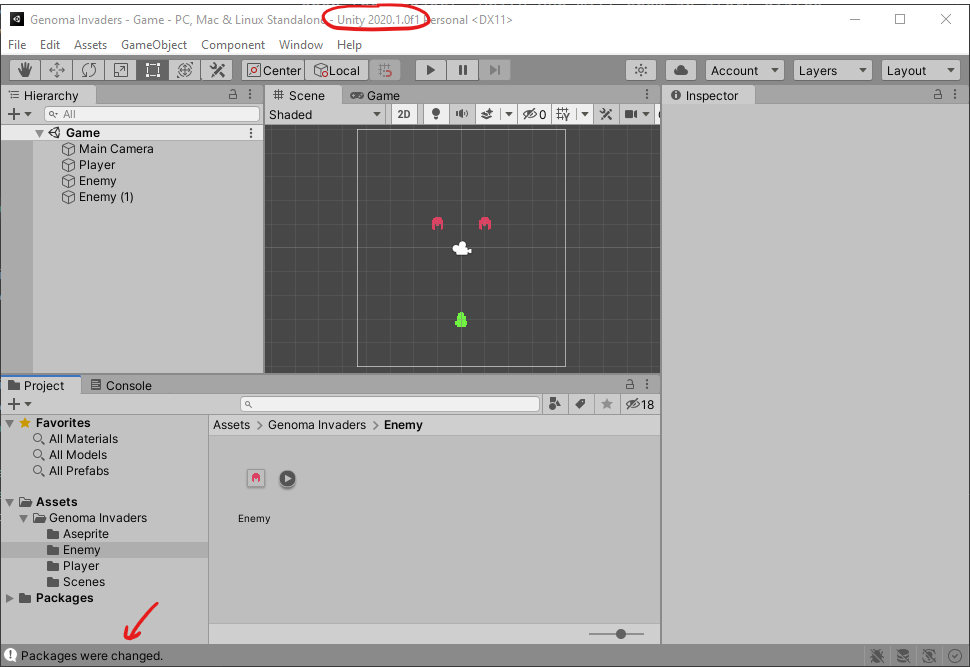
We are done!
Happy Game Dev! 👾
Post this